Implement User Authentication and Authorization in a MERN Stack Application - Part-2
By Hemanta Sundaray on 2021-10-26
This blog post is part of a series. You must complete part-1 before continuing here.
Create a folder named auth and open it in Visual Studio Code.
Inside auth, create a React project called client.
PS C:\Users\Delhivery\Desktop\auth> npx create-react-app clientNext, inside auth, create a folder named server.
PS C:\Users\Delhivery\Desktop\auth> mkdir serverCurrently, we have two folders - client and server - inside auth. What’s more, create-react-app has already initialized the client folder as a Git repository by default.
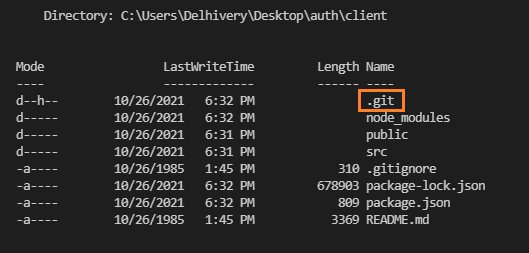
cd into the client folder and you can see the .git sub-folder (hidden) using the following command:
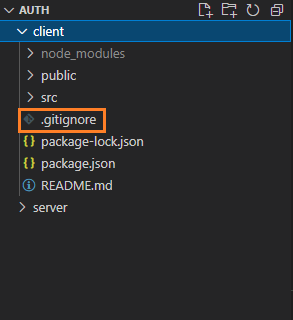
PS C:\Users\Delhivery\Desktop\auth\client> ls -FoNotice that we have a .gitignore file inside the client folder.
We are building a full-stack application, so we will initialize the auth folder as a Git repository, not the client folder. Uninitialize the client folder by removing the .git sub-folder using the following command:
PS C:\Users\Delhivery\Desktop\auth\client> rm ./.git -ForceAfter executing the command above, you will receive the following prompt:
Confirm
The item at C:\Users\Delhivery\Desktop\auth\client\.git has children and the Recurse parameter was not specified. If you continue, all
children will be removed with the item. Are you sure you want to continue?
[Y] Yes  [A] Yes to All  [N] No  [L] No to All  [S] Suspend  [?] Help (default is "Y"): Y
Type Y and hit enter. This will remove the .git sub-directory.
Next, move the .gitignore file from the client folder to the auth folder.
Inside the .gitignore file, change /node_modules to **/node_modules. This will ensure that the node_modules folder in the current folder and all the sub-folders will be ignored.
# See https://help.github.com/articles/ignoring-files/ for more about ignoring files.

# dependencies
**/node_modules
/.pnp
.pnp.js

# testing
/coverage

# production
/build

# misc
.DS_Store
.env.local
.env.development.local
.env.test.local
.env.production.local

npm-debug.log*
yarn-debug.log*
yarn-error.log*
Now, we will generate a package.json file inside the auth folder using the following command:
PS C:\Users\Delhivery\Desktop\auth> npm init -yWe will also initialize the auth folder as a Git repository.
PS C:\Users\Delhivery\Desktop\auth> git init
Initialized empty Git repository in C:/Users/Delhivery/Desktop/auth/.git/
Our application structure is now ready.
Next, we will install all the libraries that we need for our application.
cd into the client folder and install the following libraries:
PS C:\Users\Delhivery\Desktop\auth\client> npm i react-router-dom @reduxjs/toolkit react-redux axios formik yup bootstrap http-proxy-middlewareNext, cd into the auth folder and install the following libraries:
PS C:\Users\Delhivery\Desktop\auth> npm i express mongoose concurrently jsonwebtoken bcryptjs dotenv express-async-handlerNow, we will install the nodemon library as a development dependency.
PS C:\Users\Delhivery\Desktop\auth> npm i nodemon --save-devNext, update the package.json file as shown below:
{
  "name": "auth",
  "version": "1.0.0",
  "description": "",
  "main": "index.js",
  "scripts": {
    "client": "npm run start --prefix client",
   "server": "nodemon server/index.js",
   "dev": "concurrently \"npm run client\" \"npm run server\""
  },
  "keywords": [],
  "author": "",
  "license": "ISC",
  "dependencies": {
    "bcryptjs": "^2.4.3",
    "concurrently": "^6.3.0",
    "dotenv": "^10.0.0",
    "express": "^4.17.1",
    "express-async-handler": "^1.2.0",
    "jsonwebtoken": "^8.5.1",
    "mongoose": "^6.0.12"
  },
  "devDependencies": {
    "nodemon": "^2.0.14"
  }
}
Setting up a web server using Express
Inside the server folder, create a file named index.js and paste the following code snippet:
const express = require("express");
const connectDB = require("./config/db");
const dotenv = require("dotenv");

dotenv.config();

connectDB();

const app = express();

app.use(express.json());

const PORT = process.env.PORT || 5000;

app.listen(PORT, () => {
  console.log(`Server listening on port ${PORT}`);
});
Create a .env file in the auth folder. In the .env file, paste the connection string that you copied from MongoDB Atlas as the value of the key MONGO_URI.
MONGO_URI=mongodb+srv://sundaray:<password>@sandbox.y8blv.mongodb.net/myFirstDatabase?retryWrites=true&w=majorityReplace <password> with the password that you have set for the database user and replace myFirstDatabase with the name of your database.
Learn how to create a free MongoDB Atlas account and find the connection string in my blog post here and here respectively.
Also, add the PORT environment variable in the .env file.
PORT=5000
MONGO_URI=mongodb+srv://sundaray:<password>@sandbox.y8blv.mongodb.net/myFirstDatabase?retryWrites=true&w=majority
We don’t want to expose the secret environment variables contained inside the .env file to the outside world. So, we will add the .env file in the .gitignore file.
# See https://help.github.com/articles/ignoring-files/ for more about ignoring files.

# dependencies
**/node_modules
/.pnp
.pnp.js

# testing
/coverage

# production
/build

# misc
.env
.DS_Store
.env.local
.env.development.local
.env.test.local
.env.production.local

npm-debug.log*
yarn-debug.log*
yarn-error.log*
Connecting to MongoDB
Inside the server folder, create a folder named config and inside the config folder, create a file named db.js.
const mongoose = require("mongoose");
const dotenv = require("dotenv");

dotenv.config();

const connectDB = async () => {
  try {
    const conn = await mongoose.connect(process.env.MONGO_URI, {
      useNewUrlParser: true,
      useUnifiedTopology: true,
    });
    console.log(`MongoDB connected: ${conn.connection.host}`);
  } catch (error) {
    console.error(`Error: ${error.message}`);
    process.exit(1);
  }
};

module.exports = connectDB;
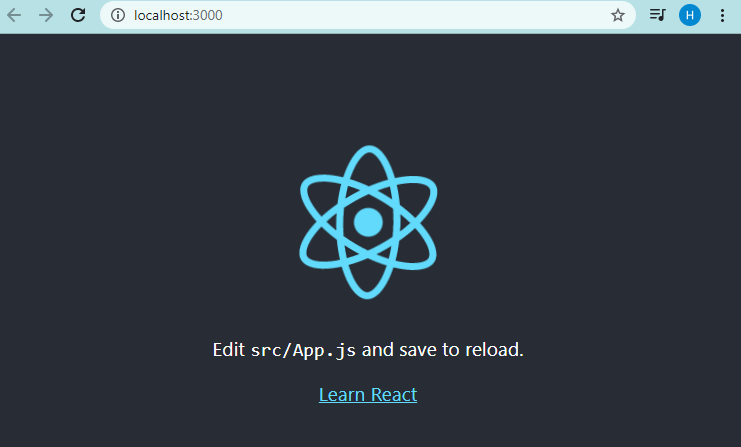
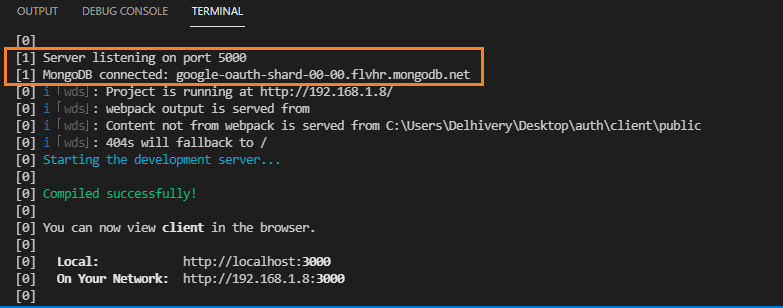
Now, let’s start both of our servers (the server created by create-react-app and the Express server) using the following command:
PS C:\Users\Delhivery\Desktop\auth> npm run devContinue to part-3


