How to Show Custom Domain Name With Firebase Authentication Using Google?
By Hemanta Sundaray on 2022-11-15
You have a web app where users can authenticate themselves with Firebase using their Google accounts.
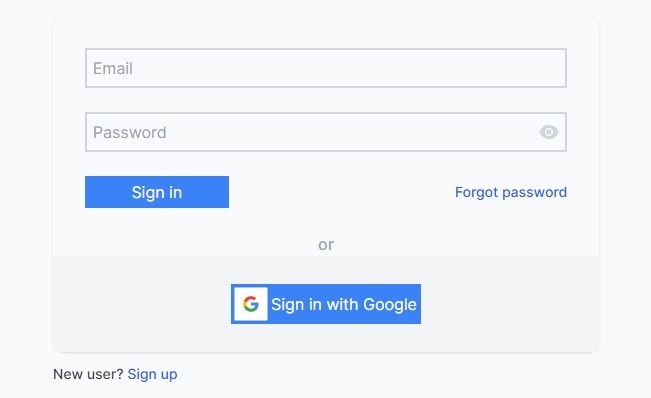
Let’s say you have a Sign-In page that looks like this:
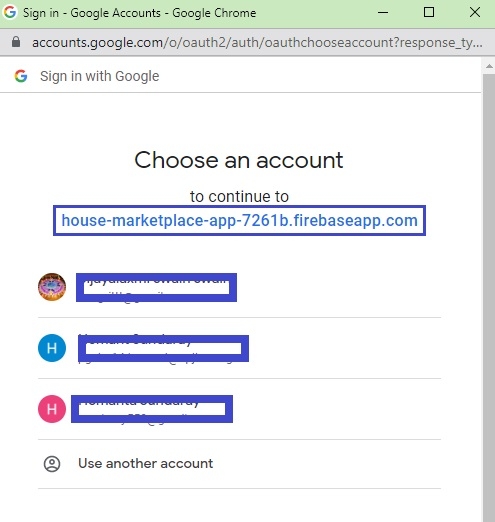
When a user clicks on the Sign-In with Google button, a pop-up window prompts the user to sign-in with Google:
On the pop-up window, the user sees the name of a subdomain, which is created automatically when you implement Firebase authentication using Google. The subdomain takes the form of https://[PROJECT-ID].firebaseapp.com.
You don’t want to show the user the name of the Firebase-generated domain; you want to show the user the name of a custom domain.
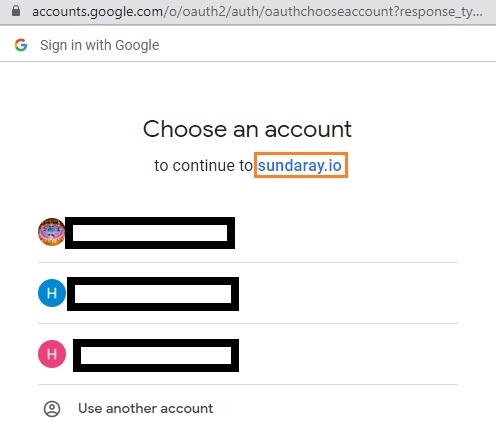
For example, when users sign in using Google to my web app, I show them the name of my domain sundaray.io.
You can see for yourself at this link: sundaray.io/sign_in.
Ok, before I explain to you the steps you need to follow, keep the following points in mind:
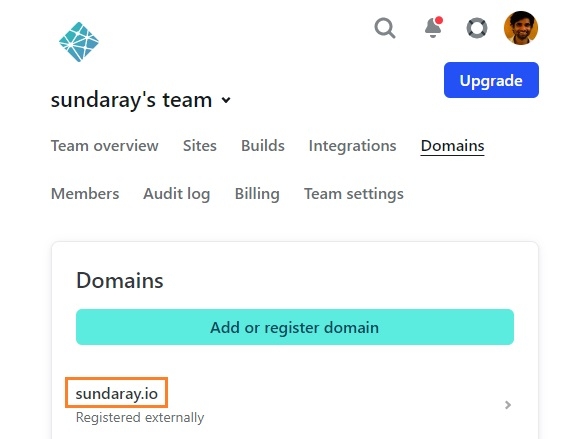
- I have purchased my domain -
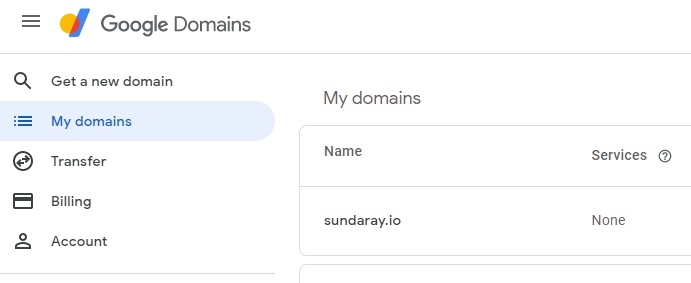
sundaray.io- from Google Domains.
- And my app is hosted on Netlify.
Step-1
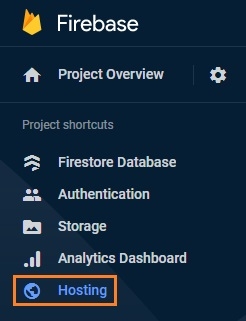
Go to Firebase console and click on Hosting.
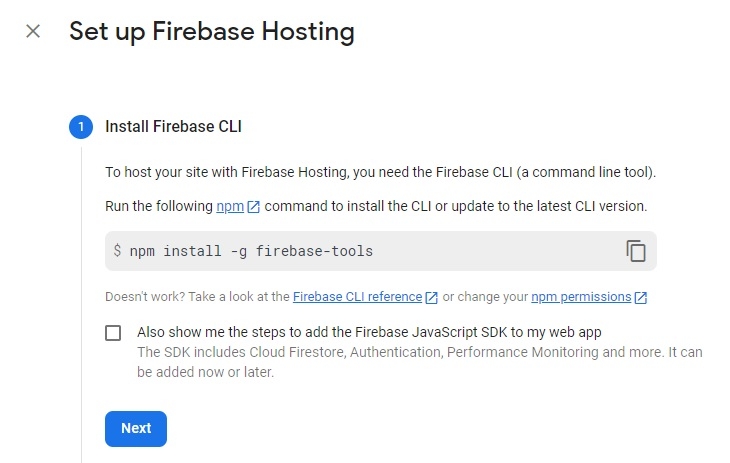
Then, click on Get started.
We don’t need to set up firebase hosting, so, keep clicking on Next until you reach the hosting console.
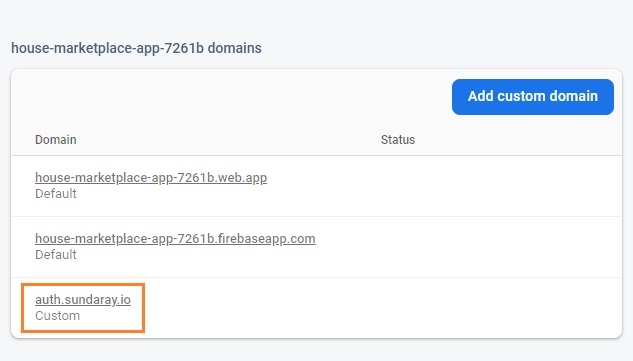
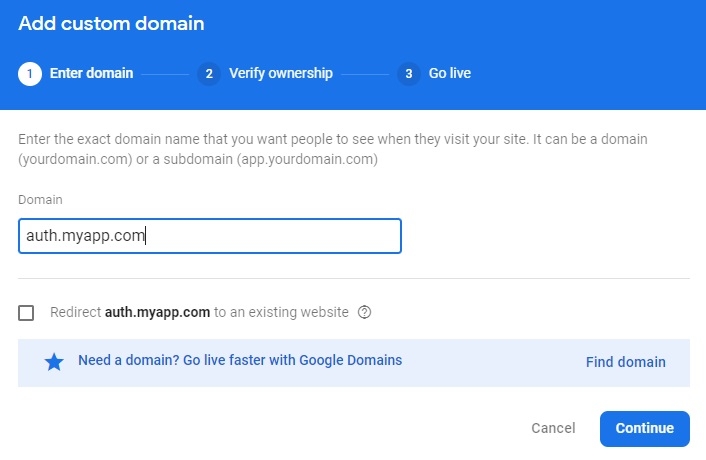
In the Firebase hosting console, you have to add a custom subdomain.
In the pic below, you can see that I have added the custom subdomain named auth.sundaray.io.
Note that the word auth is not mandatory; you can replace it with any word you like.
Let’s say you enter the subdomain auth.myapp.com.
After you click on Continue, Firebase will give you a resource record that you need to add to your DNS provider.
When I added auth.sundaray.io, Firebase gave me a A record to add to my DNS provider (which is Netlify in my case).
Step-2
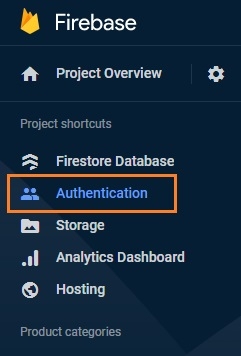
In step 2, click on Authentication in the Firebase console.
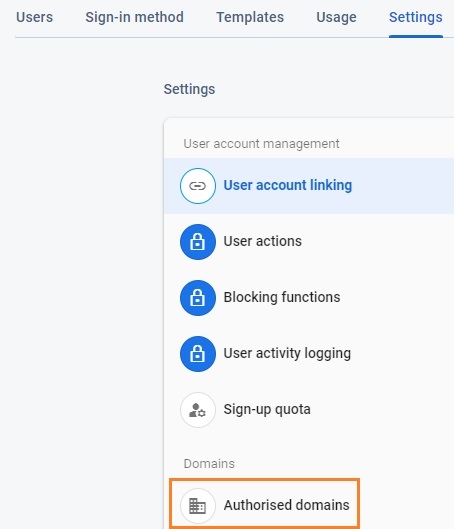
Next, click on Settings and then Authorised domains.
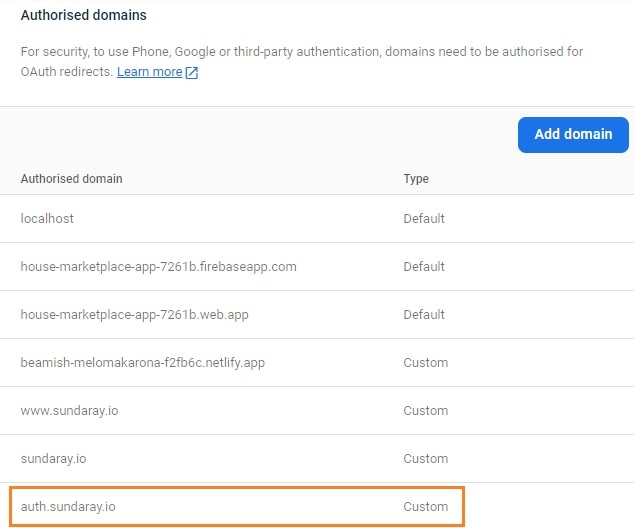
Click on Add domain and enter the name of your subdomain.
Step-3
In step-3, you need to go to Google Cloud Platform console.
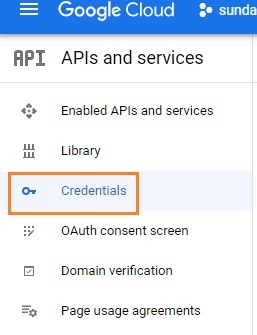
Then, you need to select your project and click on Credentials.
Click on the pen icon to edit the web client.
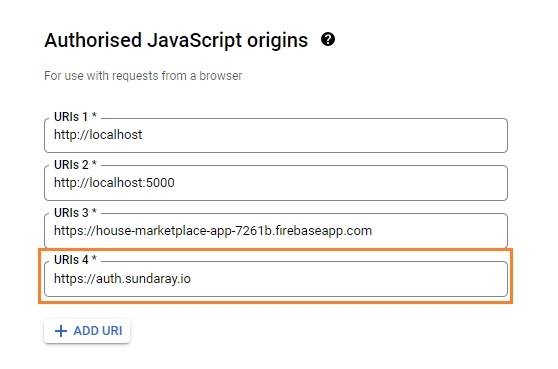
Thereafter, you need to do two things:
First, you need to add the custom domain to the list of Authorized JavaScript origins:
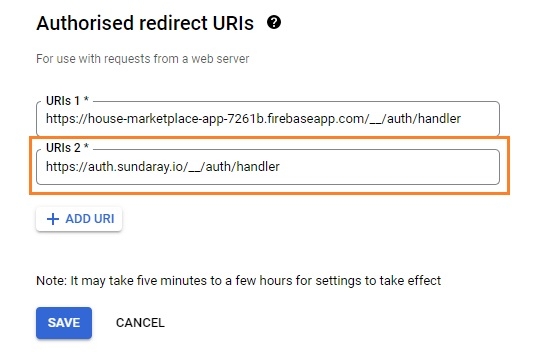
Second, you need to add a callback URL to the list authorised redirect UIs.
Don’t forget to add /__/auth/handler after the name of your subdomain.
Finally, click on Save.
We are almost done.
Step-4
This is the last step.
In your app’s code, go to the file where you have the Firebase config object that you would have copied from the Firebase console’s Project Settings page.
In the Firebase config object, you need to update the value of the authDomain field.
By default, the value of the authDomain field is [YOUR_APP].firebase.com. You have to replace the value with your custom domain name.
For example, the value of the authDomain field for my project is auth.sundaray.io.
const firebaseConfig = {
  apiKey: "YOUR_API_KEY",
  authDomain: "auth.sundaray.io",
  projectId: "YOUR_PROJECT_ID",
  storageBucket: "YOUR_STORAGE_BUCKET",
  messagingSenderId: “YOUR_MESSAGE_SENDER_ID",
  appId: "YOUR_APP_ID",
};
And that’s it. Now, when you click on the Sign in with Google button, you should see the name of your custom domain in the pop-up window.
